Customize iOS Simulator for Test Automation

How to use command line tools to configure the simulator
In mobile app development, test automation is becoming a must for apps that require frequent release. Creating a custom iOS simulator is a prerequisite for test automation. It often involves configuring various settings like region, language, keyboard configuration, and accessibility settings.
I will discuss how to create and configure an iOS simulator programmatically in this article.
Create a simulator with simctl
simctl is an Apple tool that interacts with iOS simulators from the command line. It is available after the installation of Xcode. You can use it to manage a simulator, install apps for the simulator and perform other actions. To find out the options of the tool, use the following command.
1 | xcrun simctl --help |
To create a new simulator, run the following command
1 | xcrun simctl create “my first simulator” “iPhone X” com.apple.CoreSimulator.SimRuntime.iOS-14–5 |
It creates an iPhone X simulator with iOS version 14.5 and also outputs the UDID of the new simulator. The UDID is a unique identifier for a simulator. We need it in all commands applicable to a device.
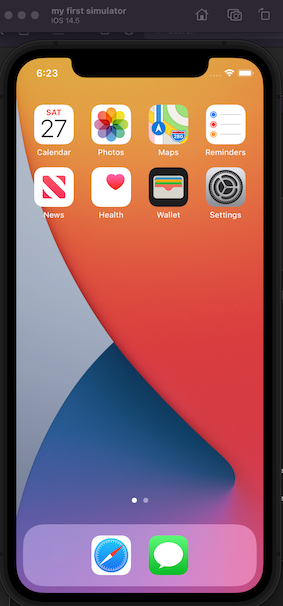
iPhone X simulator
Then, we can launch the newly created simulator with the command below using the UDID obtained in the last step.
1 | xcrun simctl boot 64B94C27-A5BB-4B2A-8E6B-C48B1AFEF298 |
We can see how easy it is to use the tool. simctl is a stable and feature-rich tool. However, it lacks the ability to change the configuration settings of simulators.
To change the iOS simulator configuration, we will need to use the plutil program. Let’s see how to use the program to configure the locale of the newly created simulator to a specific region.
plist file and plutil program
A plist file is a property file used by an iOS application. It contains the configuration settings and can be saved in text or binary format. The simulator stores its configurations in a number of plist files.
plutil is a program that can convert a plist file between binary format and XML. From macOS 10.12 onwards, the plutil command is enhanced to allow the manipulation of plist files.
Below is part of the plutil help information. For example, ‘insert’ and ‘replace’ command options can be used to manipulate the plist file.
1 | plutil |
Use plutil to set the region in the iOS simulator
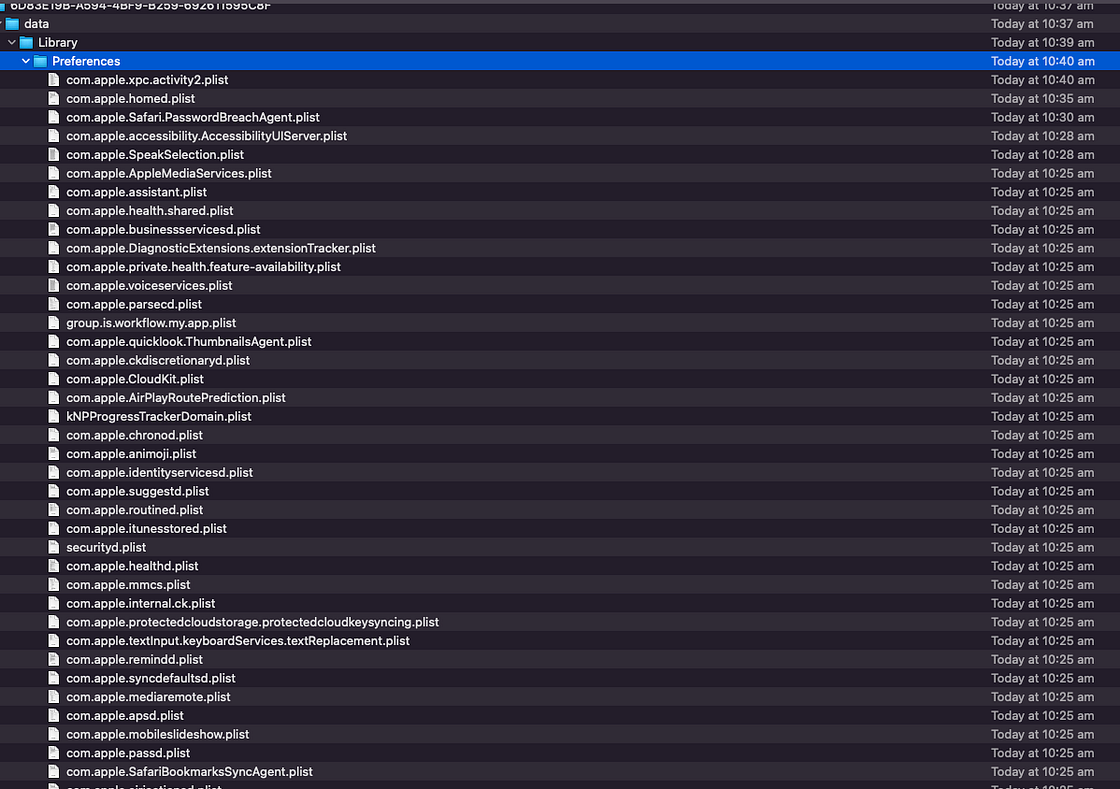
The locale setting is stored in the .GlobalPreferences.plist file. We can locate the file by navigating to the following directory on your Mac. Please note that the [DEVICE_NAME] is the UDID of the simulator.
1 | [HOME]/Library/Developer/CoreSimulator/Devices/[DEVICE_NAME]/data/Library/Preferences/.GlobalPreferences.plist |
A plist file is composed of a number of key-value pairs. We can inspect the content of a plist file using -p option.
1 | plutil -p "[HOME]/Library/Developer/CoreSimulator/Devices/[DEVICE_NAME]/data/Library/Preferences/.GlobalPreferences.plist" |
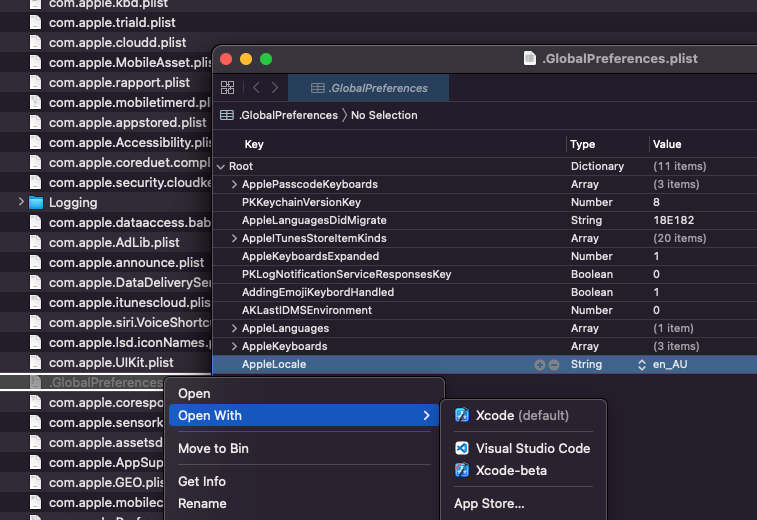
You can also click the file to open it in the Xcode editor. The locale setting is shown at the bottom as “AppleLocale,” and we can set it to “en_AU” as required.
To perform the locale change in the script, we can use the following command
1 | plutil -replace AppleLocale -string "en_AU" ”$HOME/Library/Developer/CoreSimulator/Devices/64B94C27-A5BB-4B2A-8E6B-C48B1AFEF298/data/Library/Preferences/.GlobalPreferences.plist” |
After that, restart the emulator to get the new setting effective.
1 | xcrun simctl shutdown 64B94C27-A5BB-4B2A-8E6B-C48B1AFEF298xcrun simctl boot 64B94C27-A5BB-4B2A-8E6B-C48B1AFEF298 |
Finally, by navigating to Settings > General > Language & Region in the simulator, we can see the region has been set to Australia successfully.
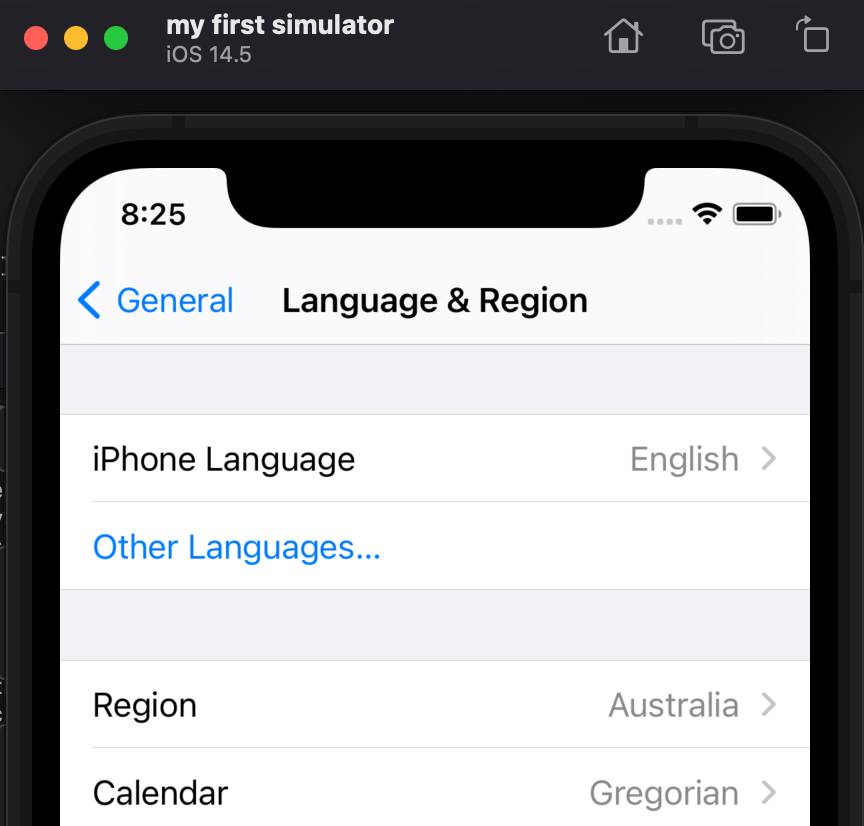
Region changed
How do you find out other settings in plist file
The iPhone settings contain many configurations, and there are many plist files in the folder. How can I locate a setting in a plist file?
Here is the trick. Let’s use the “Enable caps lock” configuration as an example. How to find out in which plist file the “Enable caps lock” is located?
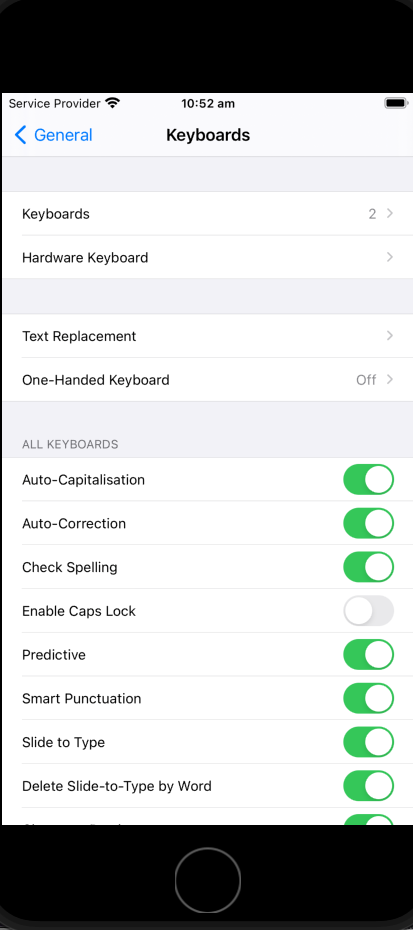
Keyboards settings
Firstly, Navigate to the keyboard setting in the simulator. Then, toggle the “Enable caps lock” setting while opening the finder with the Preferences folder. You will find the “com.apple.Preferences.plist” file has been updated with the latest timestamp in finder.

k
Open the file to confirm that the “KeyboardCapsLock” setting is there.
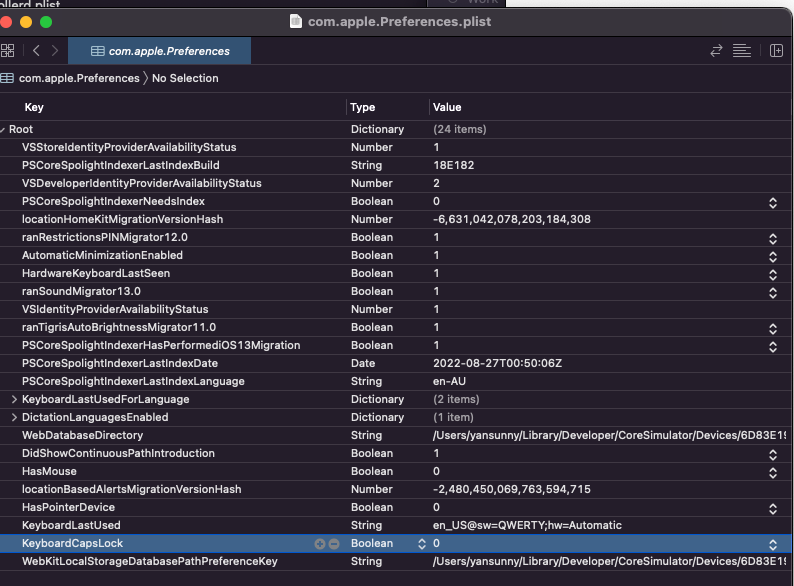
KeyboardCapsLock
We can run the following command to update the keyboardCapsLock setting.
1 | plutil -replace keyboardCapsLock -bool true “$HOME/Library/Developer/CoreSimulator/Devices/64B94C27-A5BB-4B2A-8E6B-C48B1AFEF298/data/Library/Preferences/com.apple.Preferences.plist” |
Please note that the plist file needs to be updated before the simulator is launched to make the change effective.
Summary
The iOS simulator is well ahead in all aspects compared to the Android Emulator. The list of simulators for all iOS versions and device types makes the life of an iOS developer easier. With the help of tools, including simctl and plutil, we can automate the app testing to save time and deliver a more reliable app.
I hope this article can be useful to you. The full script is here
- Title: Customize iOS Simulator for Test Automation
- Author: Sunny Sun
- Created at : 2022-08-21 00:00:00
- Updated at : 2024-08-16 19:46:17
- Link: http://coffeethinkcode.com/2022/08/21/customize-ios-simulator-for-test-automation/
- License: This work is licensed under CC BY-NC-SA 4.0.