From Localhost to Cloud - Deploy Your NestJS App on AWS ECS with Docker

From Localhost to Cloud - Deploy Your NestJS App on AWS ECS with Docker (Part 1)
Introduction
This is the first post in a series about Dockerizing your NestJS app and deploying it to AWS ECS.
In this guide, we’ll learn how to use Docker with a NestJS application. Docker packages the app with all its dependencies, making it easier to deploy, scale, and run consistently across different environments.
What is Docker?
Docker is like a box that holds your app and everything it needs to run. This box is called a container. It includes the code, tools, and settings all in one place. Containers run the same on any computer, so your app works smoothly everywhere. It’s like a magic box that makes sure your app is always ready to go.
Docker makes it easy to deploy apps by putting the app and everything it needs into one container. This container can run on any computer with Docker, so you don’t face the “it works on my machine” problem. Running the app is simple—just start the container. This makes deployment faster and with fewer issues. |
Image
An image is like a ready-to-use package that has your app, its code, tools, and settings. It’s a snapshot of everything your app needs to run. You can use it to run the app the same way on any system using Docker, making deployment and scaling easy.
A Dockerfile is a simple script with steps to create a Docker image. When you run it, Docker follows the steps and builds the image.
Create a Dockerfile for our NestJS app
Before we begin, make sure Docker is installed on your local machine.
- Visit the Docker office website (https://www.docker.com/products/docker-desktop )
- Download the installer for your operating system.
- Run the installer and follow the on-screen instructions to install Docker Desktop.
- After installation, verify the installation by running the following command in the terminal:
docker --version
In your NestJS project, verify all environment specific settings to ensure they are set correctly.
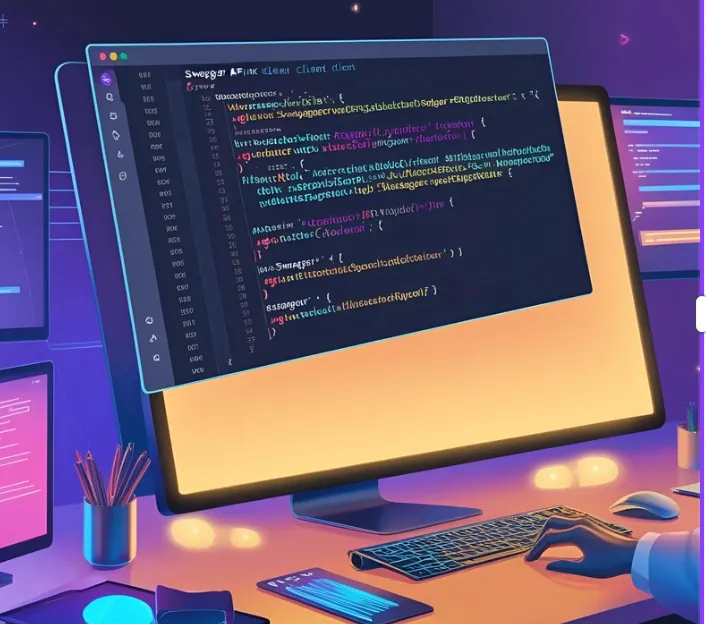
Firstly, let’s create a Docker file for the NestJS app
1 | // Dockerfile |
This Dockerfile sets up a NestJS app in a Node.js 18 container. It installs dependencies, copies the app code and environment file, builds the app, and runs it on port 3000 in production mode.
To keep the Docker image clean, we should create a .dockerignore file. This file tells Docker to skip files we don’t need, like node_modules, build files, and other unused items.
1 | // .dockerignore file |
The .dockerignore file tells Docker to ignore certain folders when creating the image. In this case, it will skip node_modules, dist, and .git folders.
Build a Docker Image
we use the following Docker CLI command to build a Docker image.
Docker CLI commands allow you to interact with Docker through the command line, helping with image management, container creation, and monitoring.
docker pull [image]: Downloads a Docker image from a registry, like Docker Hub.docker build -t [imagename] [path]: Builds a Docker image from a Dockerfile. The-toption tags the image with a name.docker images: Lists all Docker images available locally.docker ps: Shows the containers that are currently running.docker run [options] [image] [command]: Creates and starts a new container based on the specified image.docker stop [container]: Stops a running container.docker rm [container]: Removes a stopped container.
Open a terminal in the folder with the Dockerfile and run this command to build the Docker image:
1 | docker build -t client-service . |
The -t flag in the docker build command gives the Docker image a name. This tag makes it easier to manage and refer to different versions of the image.
To check the new image, run this command. The console will display the “client-service” image in the list.
1 | docker images |
Once the image is built, we can run a container from it.
1 | docker run client-service |
With the container running, we should be able to access the NestJS app by navigating to http://localhost:3000 in the web browser.
Summary
We explored the concepts of Docker and images. We learned how to create a Dockerfile for our NestJS app, build the image, and run the container locally. Now, the newly created Docker image for our NestJS app is ready to be deployed to AWS ECS!
- Title: From Localhost to Cloud - Deploy Your NestJS App on AWS ECS with Docker
- Author: Sunny Sun
- Created at : 2025-04-20 00:00:00
- Updated at : 2025-04-20 14:08:49
- Link: http://coffeethinkcode.com/2025/04/20/NestJS-from-localhost_to_cloud/
- License: This work is licensed under CC BY-NC-SA 4.0.